冀云
89.99M · 2026-03-05

前言:开发过终端机器web应用的同学,应该都被多家厂商的适配问题搞得头晕脑胀,接下来我将介绍我们组设计的「壳」方案,供大家参考学习。
因此,我们往往会在业务路由之上再包一层「背景壳」:它负责渠道识别、身份认证流程、通用头部/底部和超时逻辑,业务内容只通过 slot 填进中间内容区。这样,业务开发只关心表单和流程,壳的改动(例如新渠道、新皮肤)不会把业务代码搅在一起。
思路可以概括为:一个根级「壳」组件 + 按渠道码切换的多套皮肤(子壳)。
client,用 component :is="qdComponent" 动态挂载对应壳。<router-view>)、底部服务电话;部分壳内嵌「身份证感应区」引导与读卡流程。qda.vue、qdb.vue),布局与样式略有差异,但都提供相同的 slot,保证业务路由视图只写一份。下面用简化代码说明:
// App.vue 节选
export default {
  data() {
    return {
      client: '',           // 渠道码,来自 URL 或解密后的登录信息
      isReadyLogin: false,
      background: 'background',
      backgroundQda: 'backgroundQda',
      backgroundQdb: 'backgroundQdb',
      // ... 其他渠道组件名
    }
  },
  computed: {
    qdComponent() {
      if (this.client === '01') return this.background
      if (this.client === '02') return this.backgroundQda
      if (this.client === '03') return this.backgroundQdb
      // 更多渠道...
      return ''
    }
  },
  async created() {
    await this.getClientType()  // 从 URL 或 info 解密得到 client
    this.fetchAllConfigs()      // 拉取全局配置,如是否开启模拟登录
    this.isReadyLogin = true
  }
}
模板中只需:
<component :is="qdComponent">
  <router-view></router-view>
</component>
这样,同一套 router-view 在不同渠道下会渲染到不同壳的 slot 里,业务无感知。
不同渠道的「首页地址、服务电话、表格高度、是否展示打印按钮」等,集中在一份配置里,按 client 取值:
// configs/districtConfig.js 示意
const DIFF_CONFIG = {
  '01': {
    homeUrl: ['https://example.com/portal/home.html'],
    servicePhoneNumber: '11111',
    tableMaxHeight: xxx,
    isShowPrintButton: false
  },
  '02': {
    homeUrl: '',
    servicePhoneNumber: '22222',
    tableMaxHeight: xxx,
    isShowPrintButton: true
  }
  // ...
}

function getDistrictConfigs() {
  return DIFF_CONFIG[Storage.getSession('client')] || {}
}
壳里用 districtConfigs.getDistrictConfigs() 取当前渠道的 homeUrl、servicePhoneNumber 等,避免硬编码。
以「带读卡流程」的壳为例,结构可以抽象成三块。
左侧:Logo + 系统标题(来自全局配置);右侧:时钟图标 + 倒计时。点击任意区域可重置倒计时,避免操作到一半被超时踢回首页。
<div class="title">
  <div class="title-left">
    <img src="../../assets/aaa.png" alt="" class="title-icon">
    <span class="title-text-info">{{ title }}</span>
  </div>
  <div class="title-right">
    <img src="../../assets/clock-icon.png" alt="" class="title-time-icon">
    <span class="title-time-left">{{ time }}</span>
  </div>
</div>
data() {
  return {
    time: 120,
    title
  }
},
mounted() {
  this.setInterval_ID = setInterval(() => {
    this.time--
    if (this.time < 1) {
      clearInterval(this.setInterval_ID)
      MessageBox({ message: '操作时间到,即将返回到首页', onClose: () => this.goBackToHome() })
    }
  }, 1000)
},
methods: {
  resetTimer() { this.time = 120 },
  goBackToHome() {
    store.commit('user/clearLoginInfo')
    window.location.href = this.url[0]
  }
}
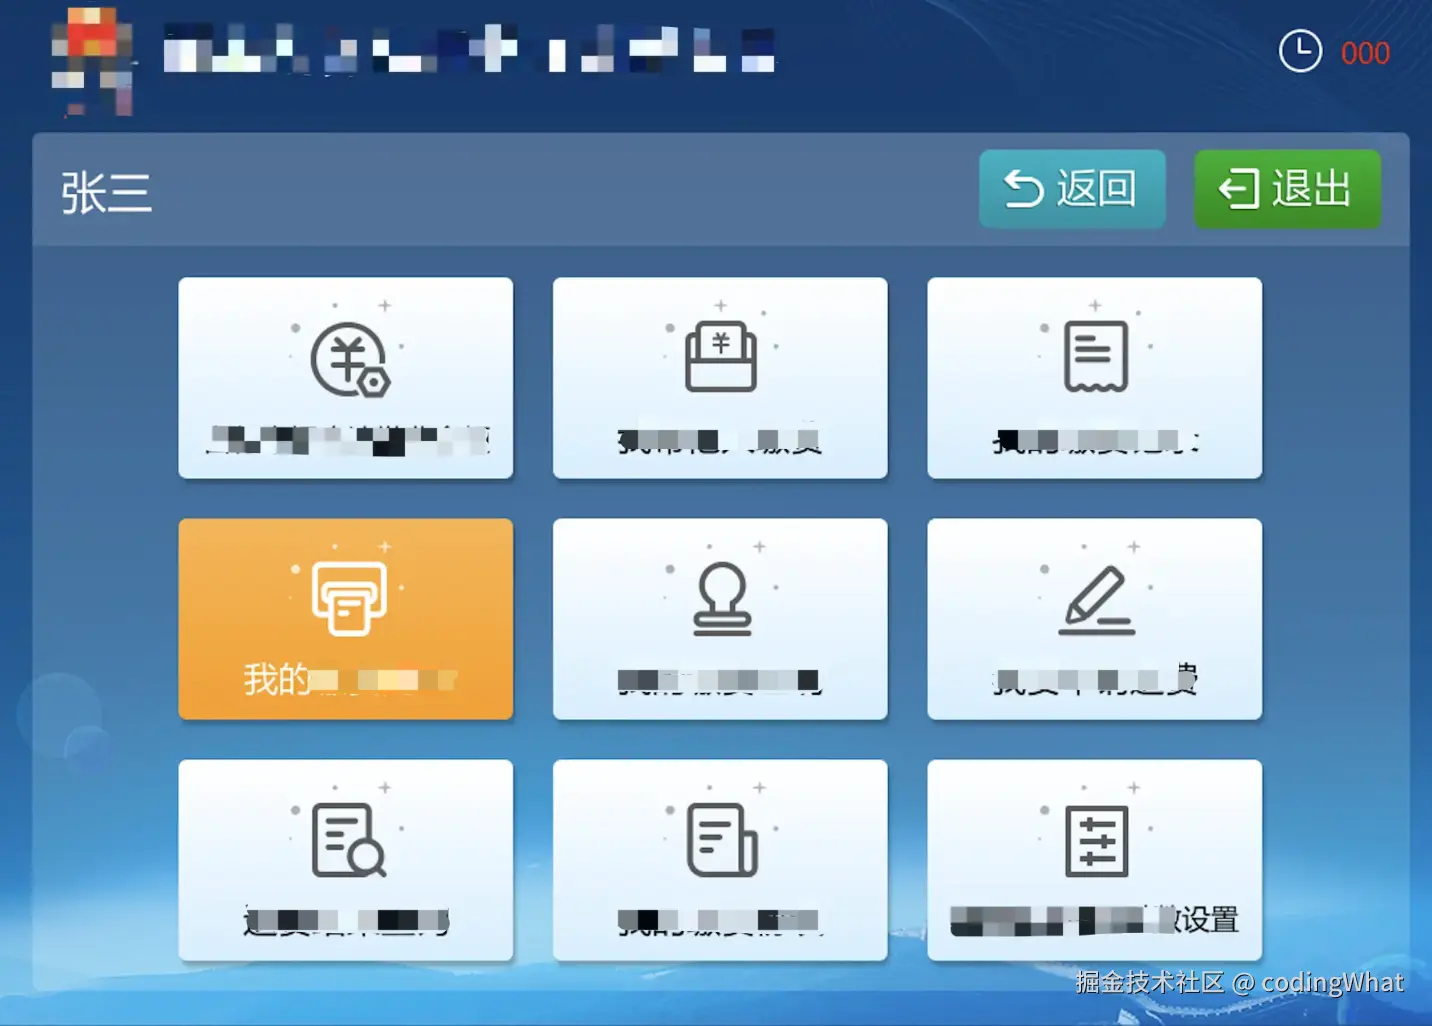
未认证时展示「请将身份证放置在感应区」的引导 + 示意图;认证成功后隐藏该块,显示头部栏(姓名、证件号、返回按钮、退出)和内容区。内容区用 slot 承接路由组件:
<div v-if="isShowIdCardContent">
  <div class="idcard-part">
    <label>身份认证</label>
    <label>请将您的身份证放置在身份证感应区</label>
    <img src="../../assets/idCard.png" class="idcard-img"/>
  </div>
</div>
<div v-else>
  <div class="header-content">
    <span>{{ name }}(证件号码:{{ zjhm }})</span>
    <button-back @click="back()" v-if="isToxxxPage"></button-back>
    <div class="button-logout" @click="goBackToHome()"></div>
  </div>
  <div class="content">
    <div class="content-wrapper">
      <slot></slot>
    </div>
  </div>
</div>
这样,读卡与登录逻辑都收在壳里,业务侧只依赖已写入 store 的用户信息。
固定展示服务电话等,可从渠道配置读取
终端上的读卡器通常由本地桌面服务(如跑在本机 8075 端口的 HTTP 服务)封装,浏览器通过 Ajax 调「打开设备 → 轮询取数 → 关闭设备」。
约定请求体里带 serviceId、handlerId,例如身份证服务统一用 serviceId: 'idCardService',handlerId 为 open / getData / close:
// core_district/xxx/xxxRequestUtils.js
const BASE_URL = 'http://127.0.0.1:8075/server'

const instance = axios.create({
  baseURL: BASE_URL,
  headers: { 'Content-Type': 'application/json;charset=UTF-8' }
})

function requestObj(handlerId) {
  return {
    header: { serviceId: 'xxx', handlerId },
    body: { reqData: {} }
  }
}

export function idCardService(data) {
  if (data === 'close') {
    return instance.post('', requestObj(data), { quiet: true })
  }
  return instance.post('', requestObj(data))
}
这样 idCardService('open')、idCardService('getData')、idCardService('close') 就对应设备开、取数、关。
在壳的 mounted 里串起流程:先 open,若成功则循环 getData 直到拿到证件信息,再 close;然后用证件号、姓名调后端登录接口,成功后写 store 并跳转业务路由。
async mounted() {
  if (this.isOpenMockLogin) {
    this.isShowIdCardContent = false
    this.name = xxx
    this.zjhm = txxx
    this.$router.push({ name: xxx })
    return
  }
  this.setInterval_ID = setInterval(() => { /* 倒计时... */ }, 1000)

  const openResult = await xxxRequestUtils.idCardService('open')
  if (openResult.code === '000') {
    while (!this.isGetIdInfo) {
      const result = await xxxRequestUtils.idCardService('getData')
      if (result.code === '000') {
        await this.getUserByIdCard(result.body.respData)
        break
      }
    }
    await xxxRequestUtils.idCardService('close')
  } else {
    MessageBox({ message: openResult.msg })
  }
},
methods: {
  async getUserByIdCard(data) {
    this.isShowIdCardContent = false
    this.name = data.name
    this.zjhm = data.zjhm
    await this.$api.getxxx({
      xxxCardNo: data.zjhm,
      fullName: data.name
    })
    ....
  }
}
其中 isOpenMockLogin 来自后端配置,为 true 时跳过读卡,直接走模拟登录(例如开发环境用表单填姓名、证件号),便于本地调试。
不同渠道的壳可以继承「同一套逻辑」,只在模板和样式上做差异。例如:
只要都提供同一个 slot,根组件里按 client 切换即可:
qdComponent() {
  if (this.client === '01') return this.background
  if (this.client === '02') return this.backgroundQda
  if (this.client === '03') return this.backgroundQdb
  // ...
}
新增渠道时,只需新增一个壳组件并在 qdComponent 里加一行映射,业务代码零改动。
开发时往往没有真机和读卡器,因此通过配置 isOpenMockLogin: true 走「模拟登录」页:输入姓名、证件号、渠道码(甚至可选功能模块),点击登录后把信息写入 store,再动态选择壳组件并进入业务。这样:
模拟登录页本身也可以复用「按渠道码选壳」的 qdComponent 逻辑,登录成功后用 component :is="qdComponent" 渲染对应壳 + router-view,与正式入口一致。
这样,一套布局(壳 + slot)、多端适配(多壳 + 渠道配置)、硬件通过本地服务封装,即可在保证业务单一实现的前提下,支撑多厂商、多地区的自助终端集成;后续新增渠道或新终端厂商,只需加壳和配置,扩展成本低、可维护性好。

