文档编辑表格制作工具
63.11M · 2026-04-13

总结一下怎么在VS Code 调试vue2 源码
我们开始吧~
去Github克隆源码,克隆后我们用VS Code打开。
git clone
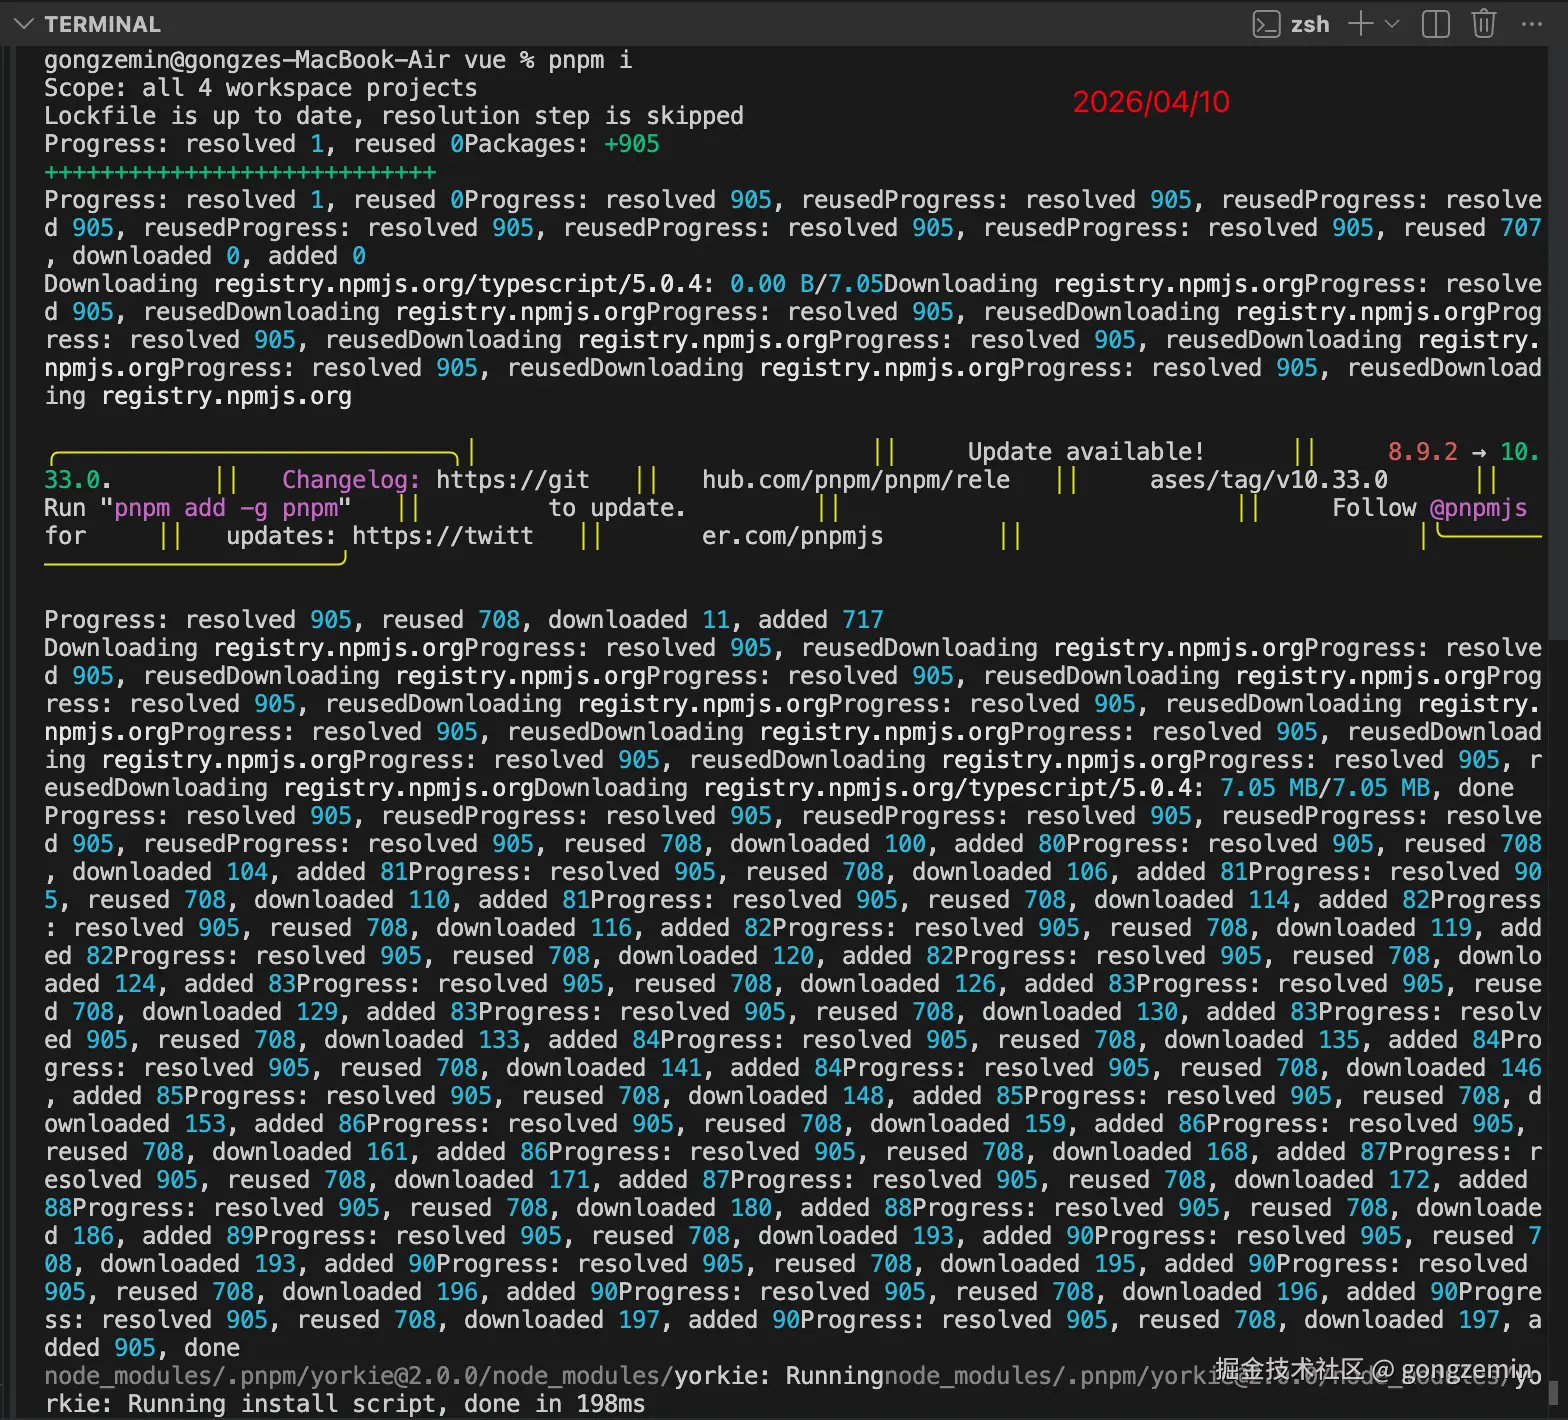
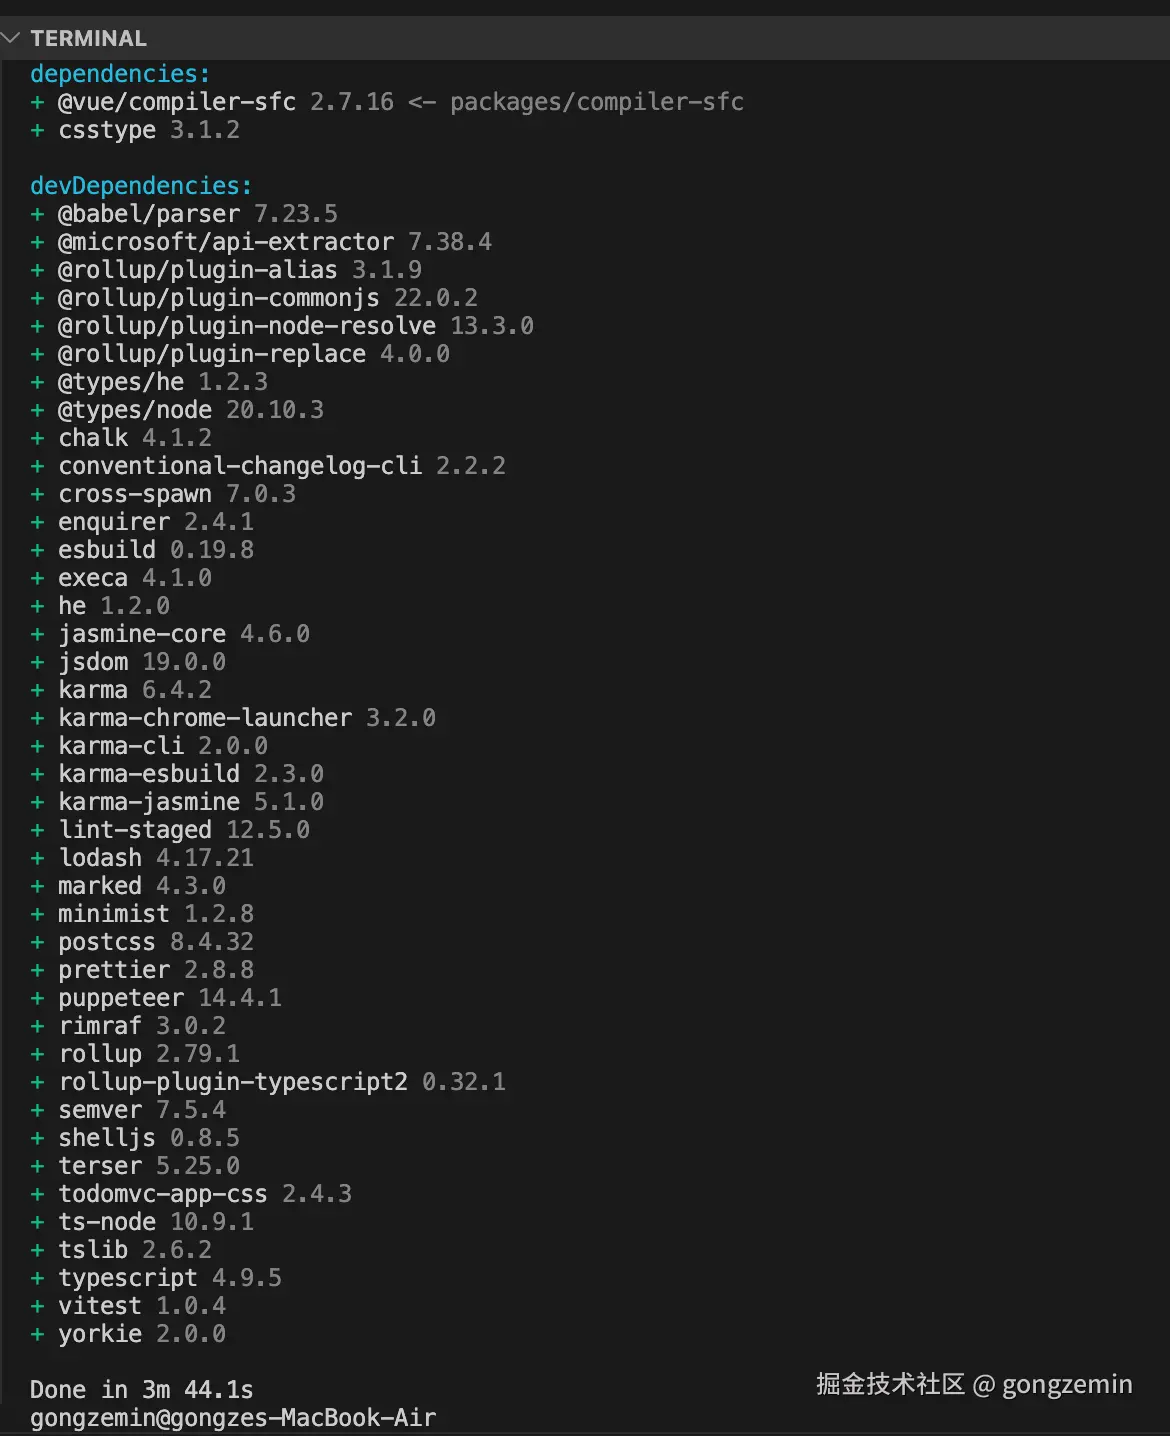
pnpm i
把项目跑起来
npm/pnpm run dev
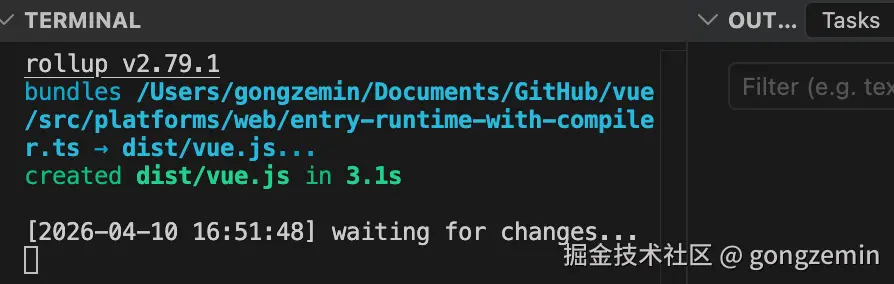
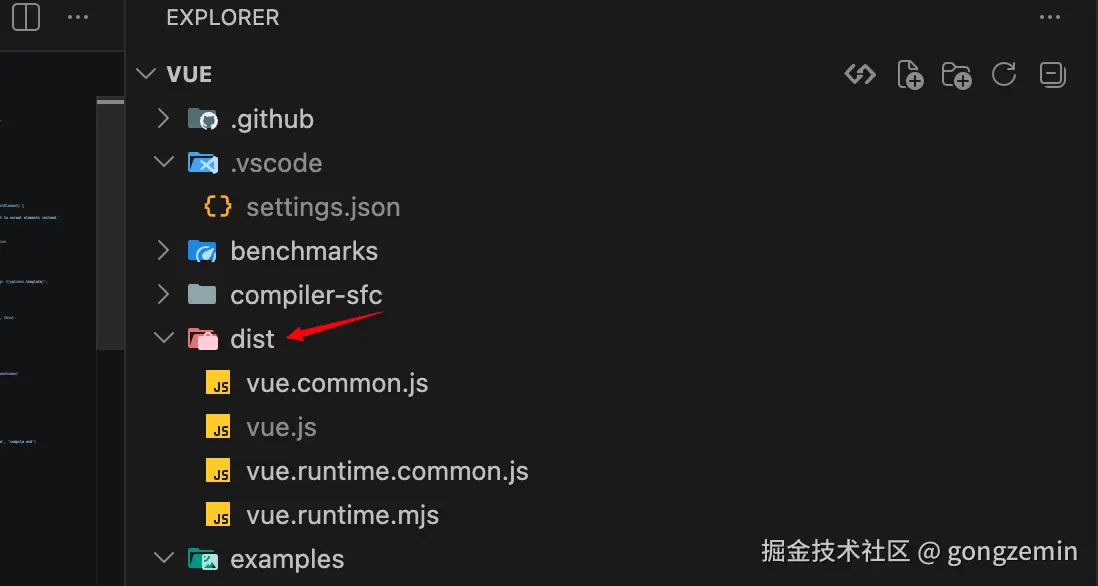
从 entry-runtime-with-compiler.ts 这个入口文件打包生成 dist/vue.js 这个最终可用的 Vue 文件
生成了dist文件夹 里面有vue.js
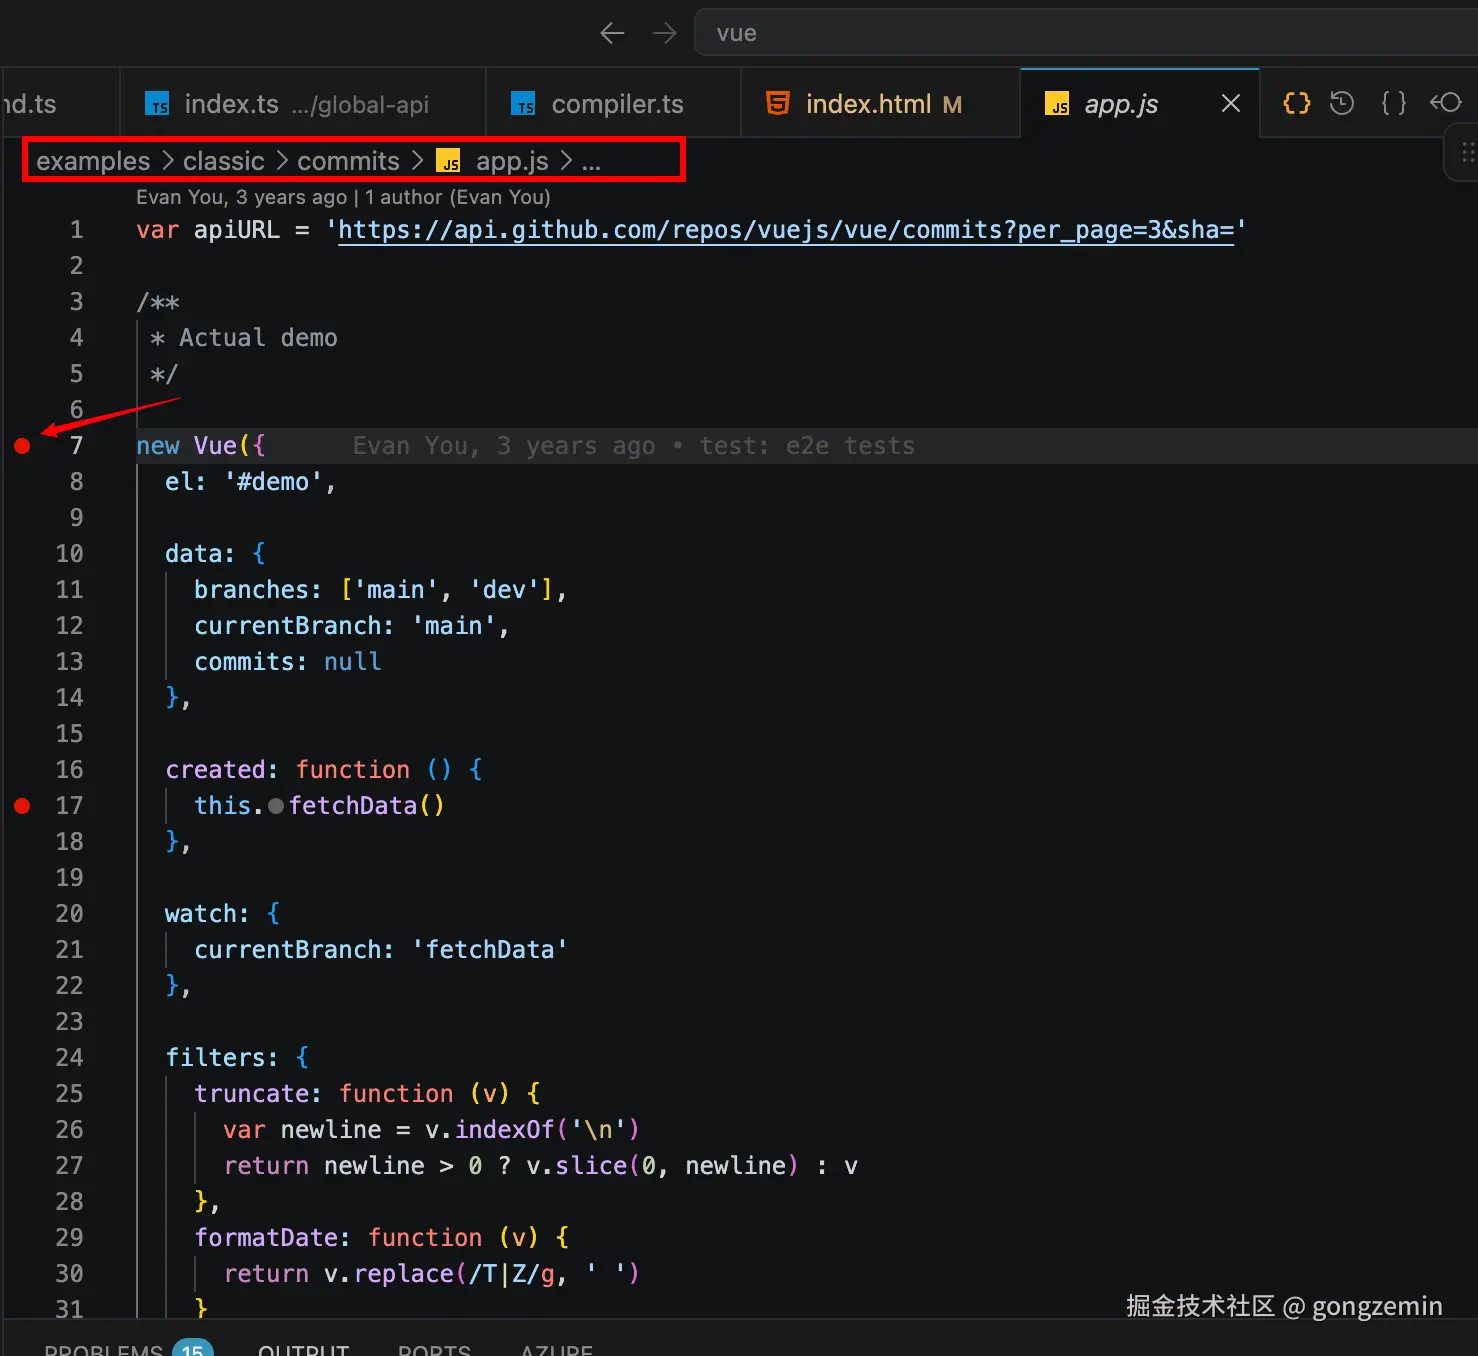
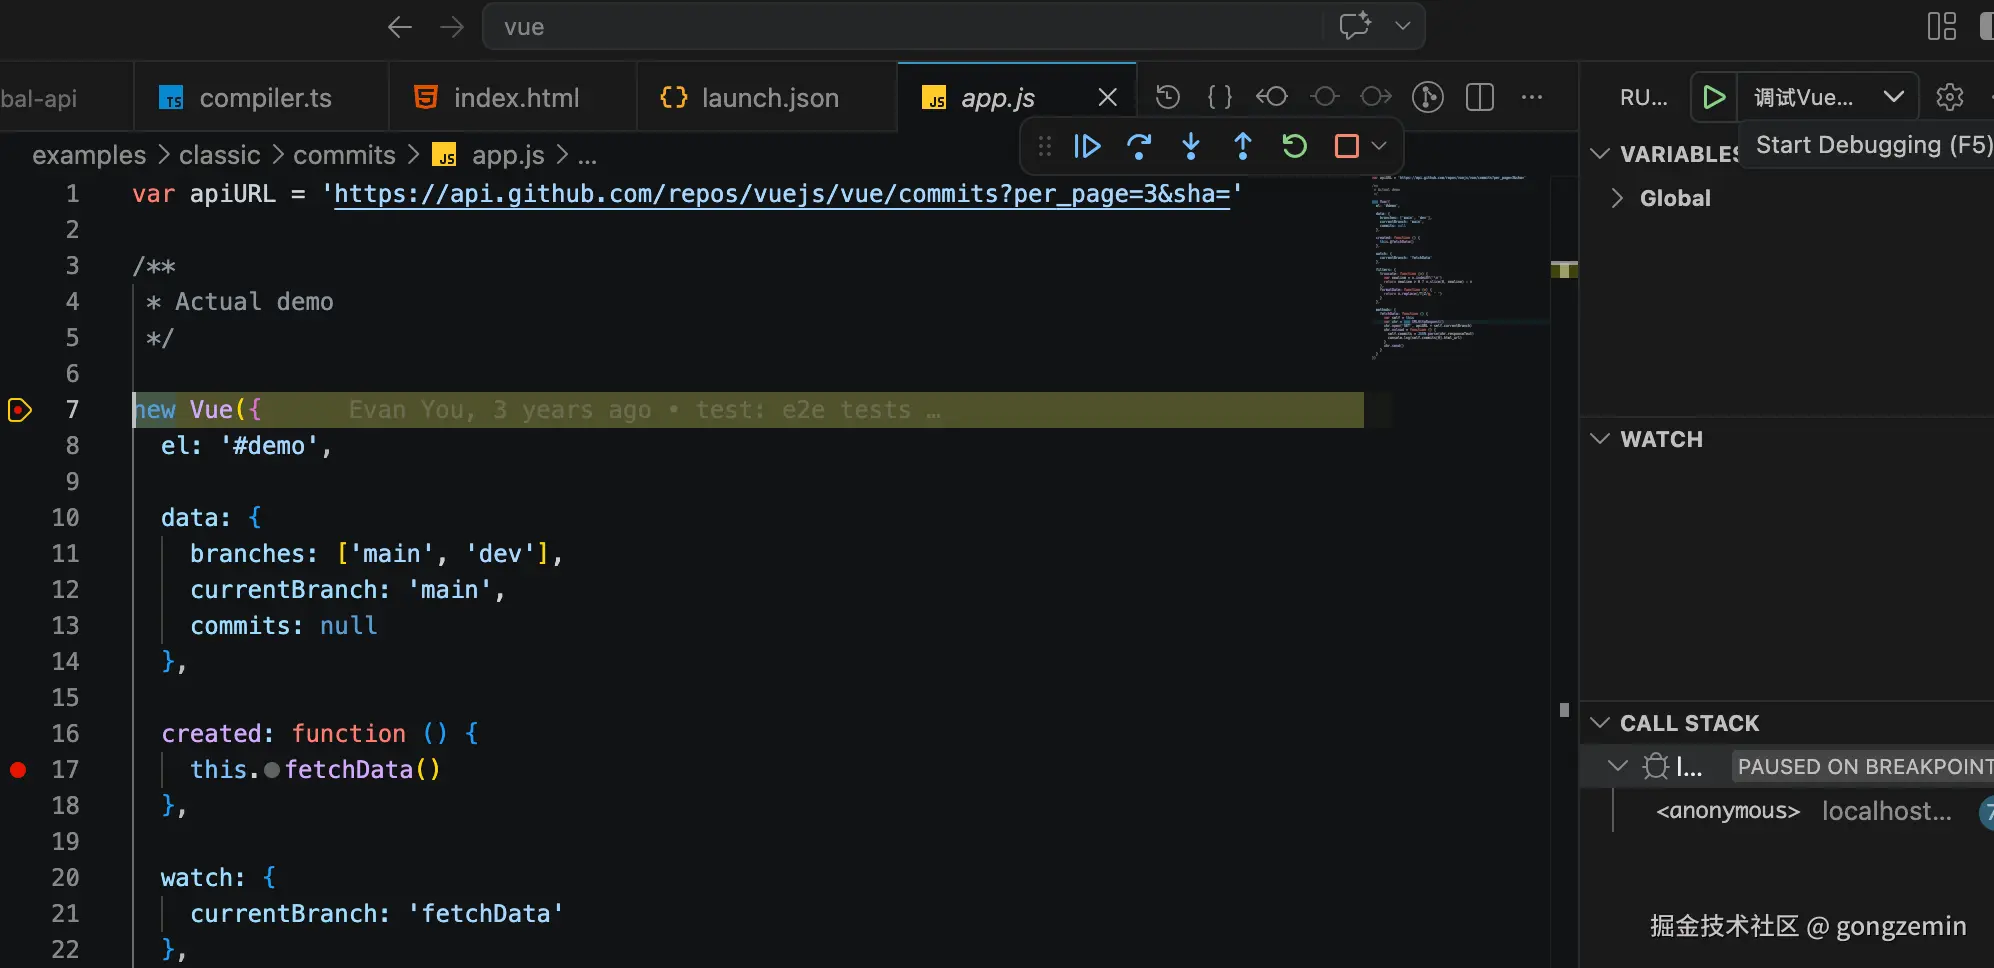
我们找examples/classic/commits/app.js 在如图位置打上断点
commits/index.html 这个文件引入了vue.min.js, 我们刚才构建出来的是vue.js文件,我们把引入的文件改成vue.js
<script src="../../../dist/vue.js"></script>
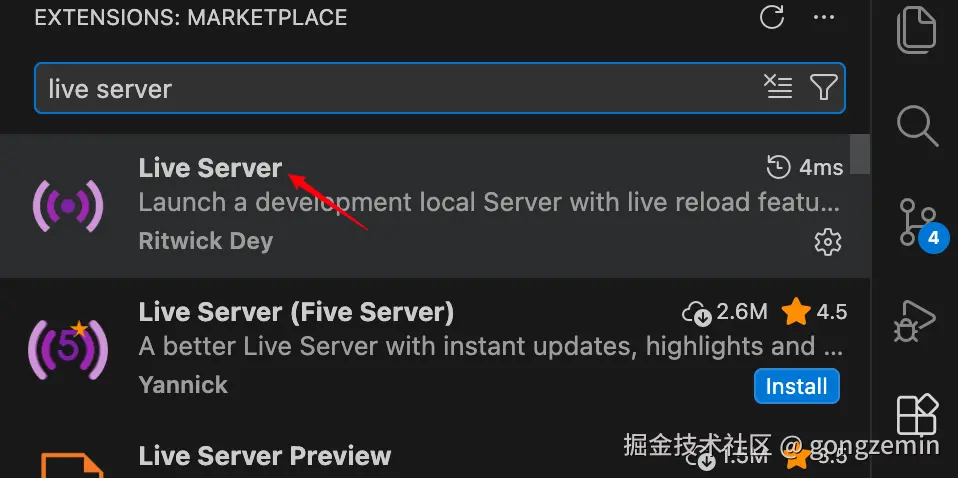
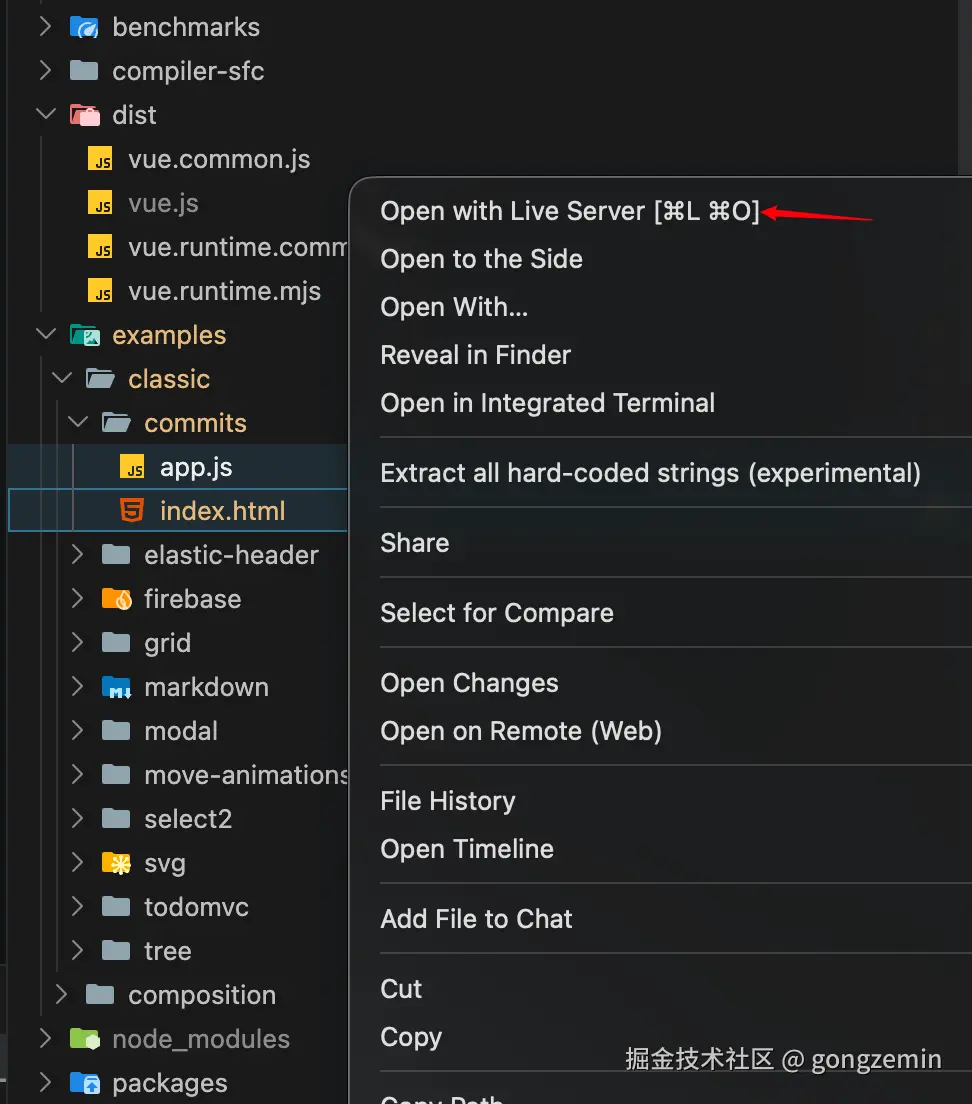
安装好插件后,打开文件的上下文菜单 可以看到Open with Live Server
这样我们就可以打开我们的examples/classic/commits/index.html 文件了 是用服务器打开的
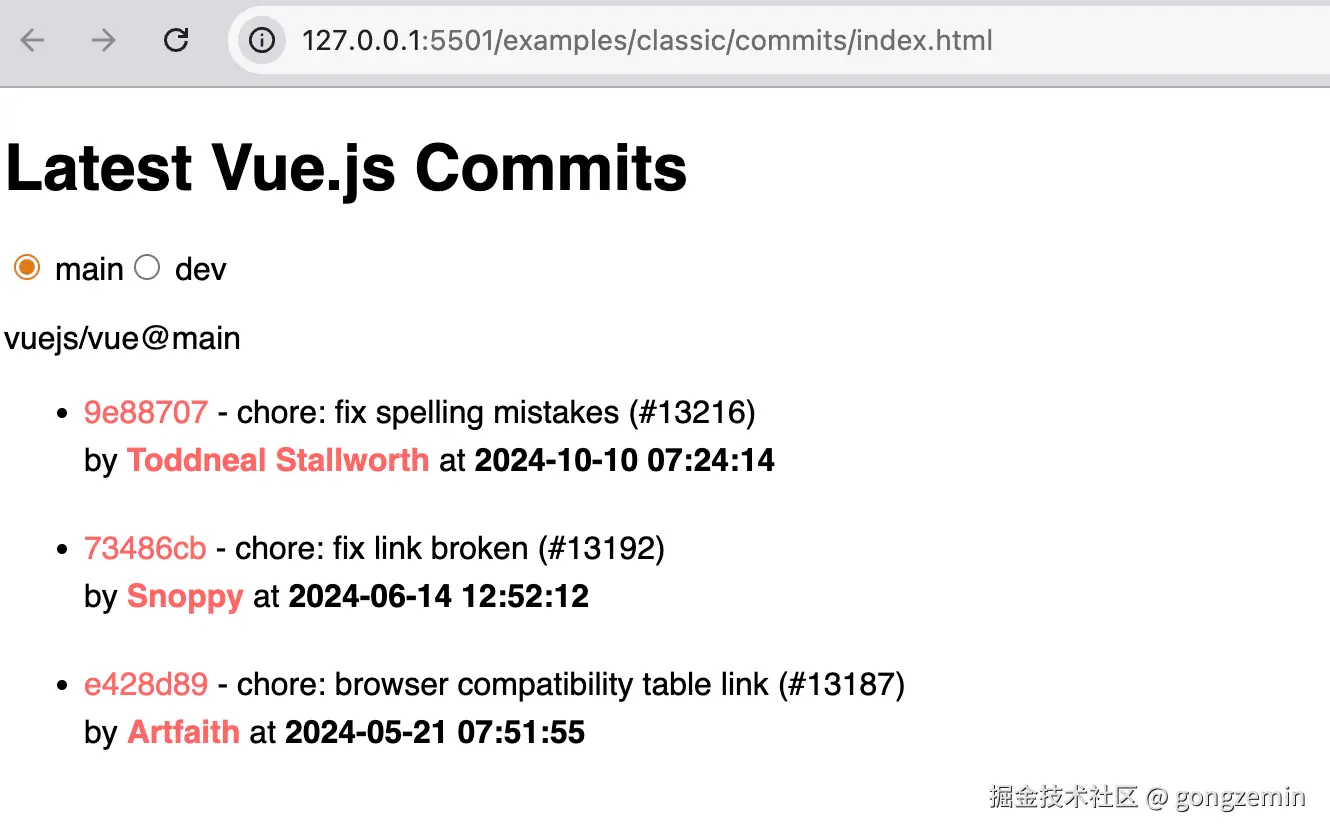
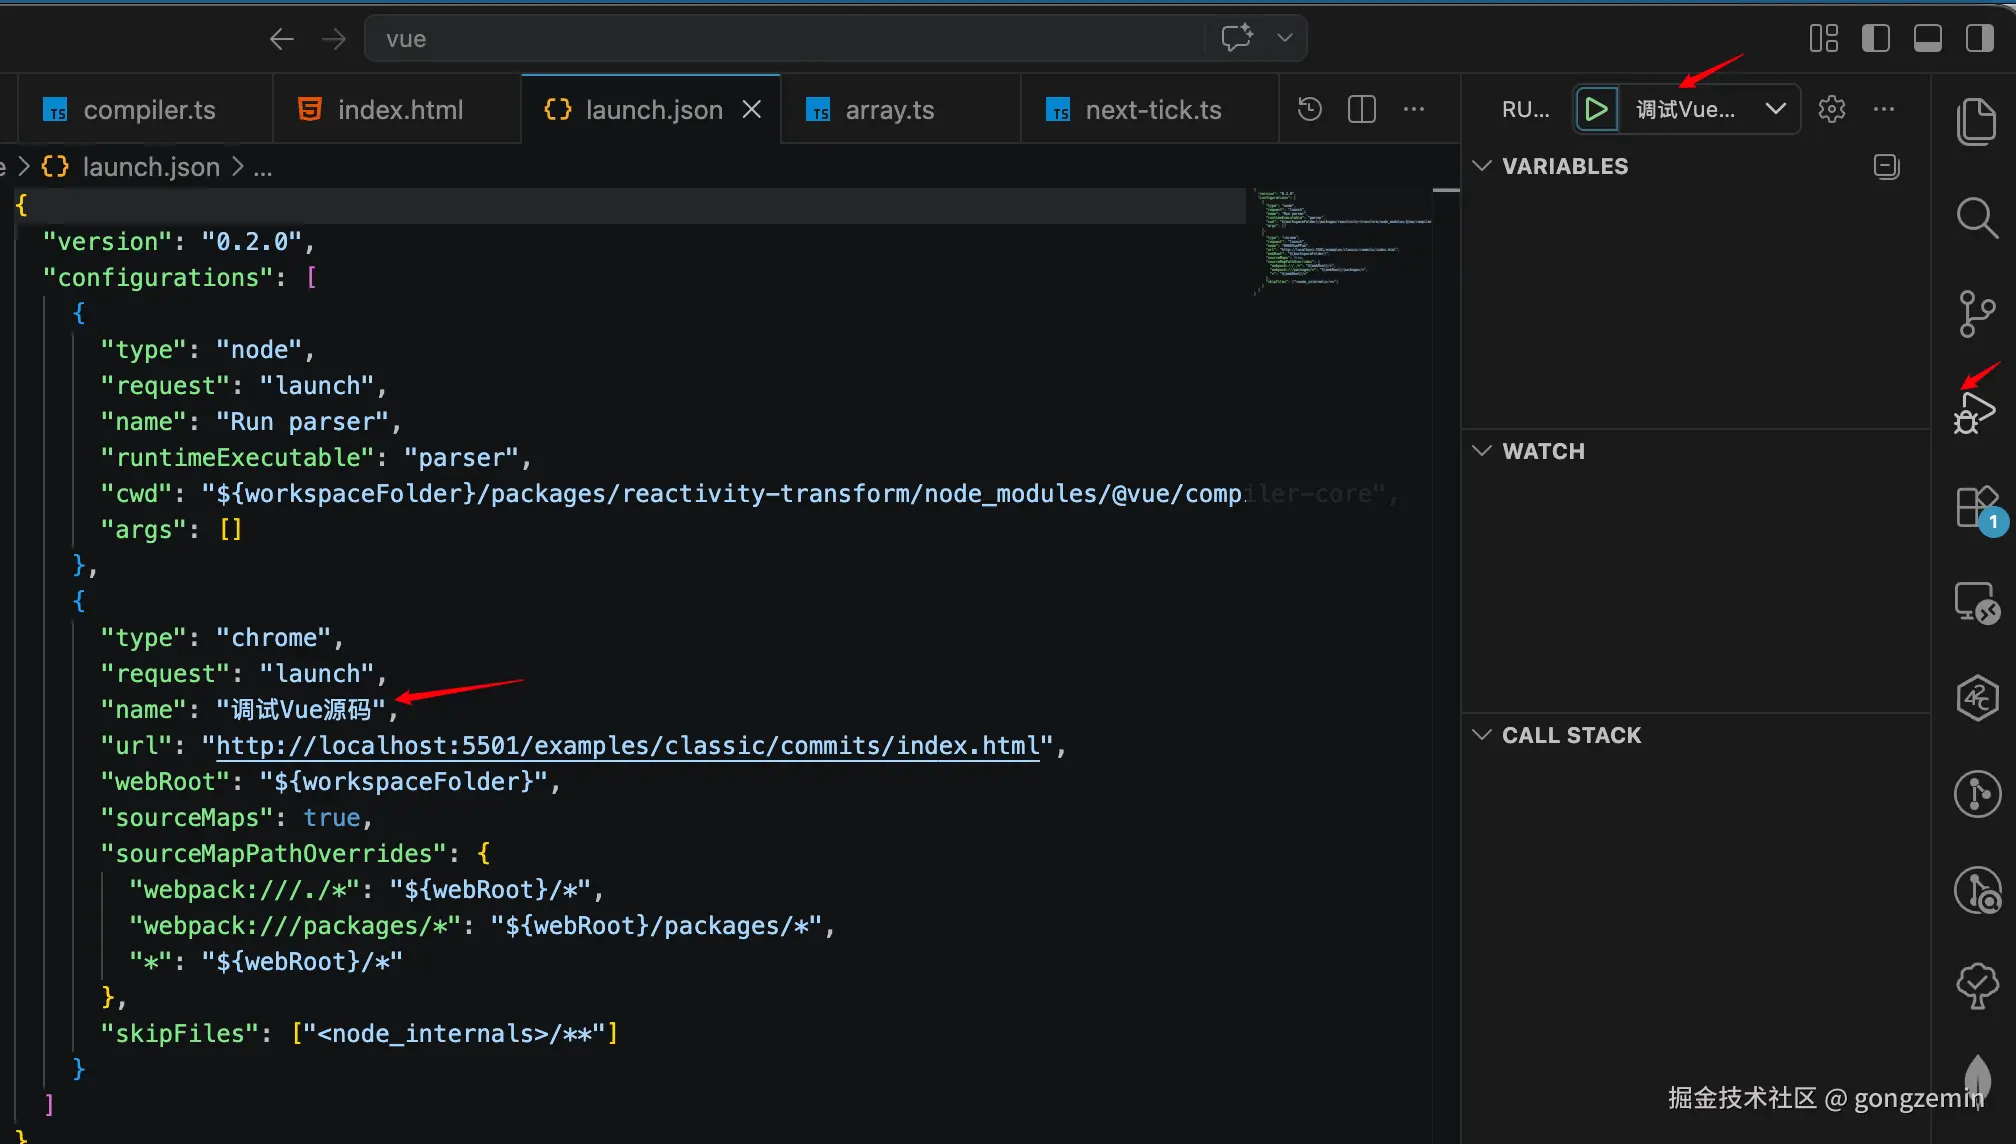
注意这里的URL是我们的要调试URL路径
{
  "version": "0.2.0",
  "configurations": [
    {
      "type": "node",
      "request": "launch",
      "name": "Run parser",
      "runtimeExecutable": "parser",
      "cwd": "${workspaceFolder}/packages/reactivity-transform/node_modules/@vue/compiler-core",
      "args": []
    },
    {
      "type": "chrome",
      "request": "launch",
      "name": "调试Vue源码",
      "url": "http://localhost:5501/examples/classic/commits/index.html",
      "webRoot": "${workspaceFolder}",
      "sourceMaps": true,
      "sourceMapPathOverrides": {
        "webpack:///./*": "${webRoot}/*",
        "webpack:///packages/*": "${webRoot}/packages/*",
        "*": "${webRoot}/*"
      },
      "skipFiles": ["<node_internals>/**"]
    }
  ]
}
点击Run and Debug图标, 选择调试Vue源码(就是我们配置launch.json里面配置的name)
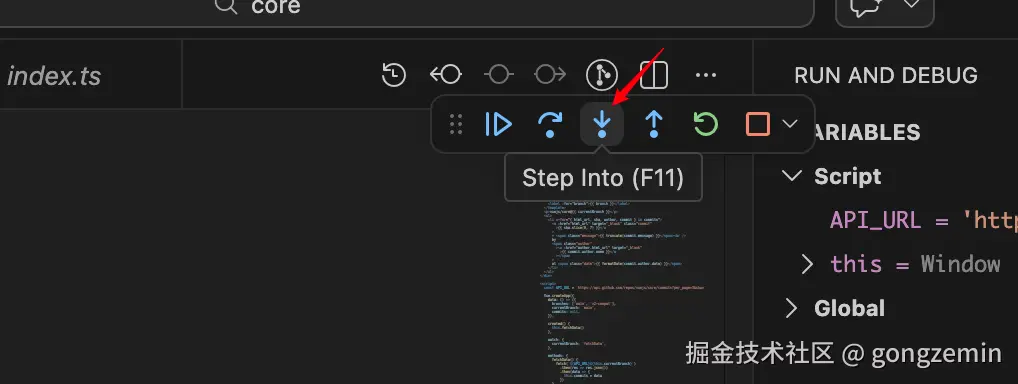
我们点击Step Into
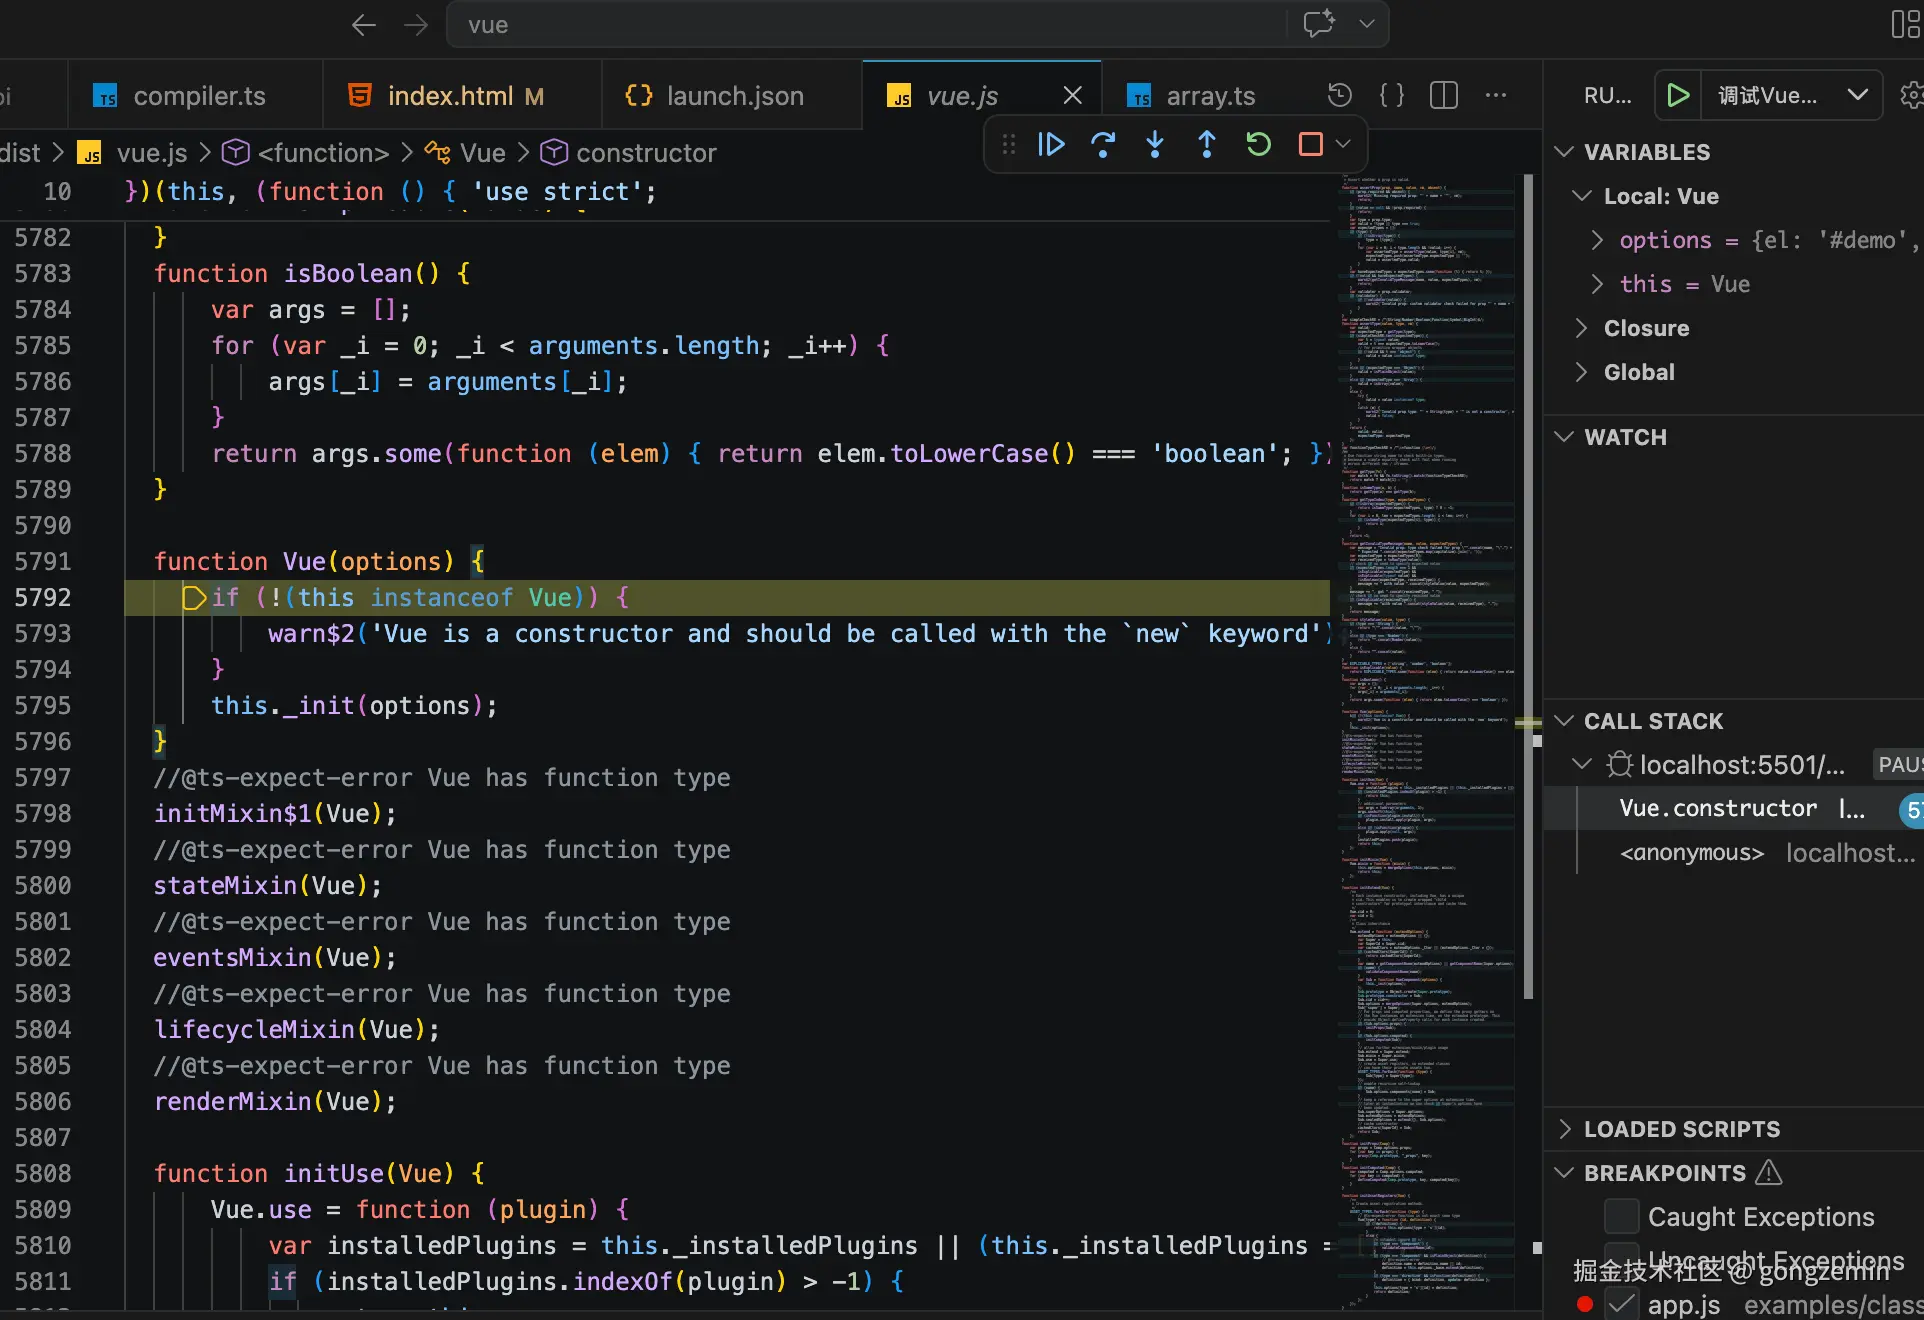
就进入Vue()构造函数了
调试vue3源码方法也一样 参考这篇笔记

